Drop a PDF here or click to upload
Fill in fields, add checkmarks and sign
Or drop files anywhere on this page. Files are processed in your browser and never uploaded.
Fill in a PDF form and sign it without printing. Type into the form's own fields, or place text, dates, marks and a signature anywhere on a page.
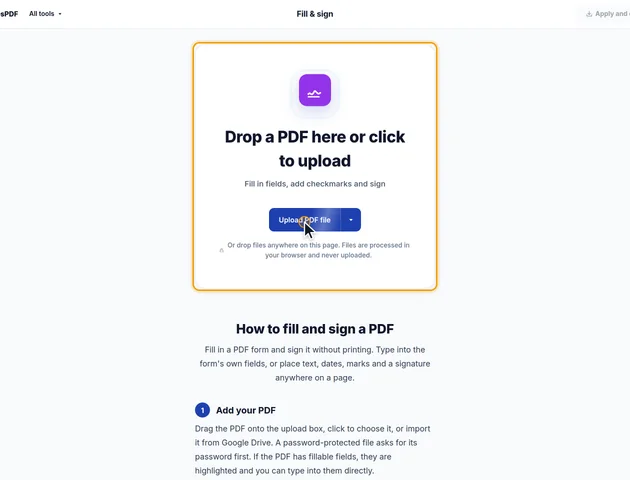
Drag the PDF onto the upload box, click to choose it, or import it from Google Drive. A password-protected file asks for its password first. If the PDF has fillable fields, they are highlighted and you can type into them directly.
Choose Add text, Date or Checkmark in the bar above the pages, then click the page where the item should go. The menu next to Date sets the date format. The Checkmark menu also has X mark and Bullet. Drag an item to move it, and drag the round handle to resize it.
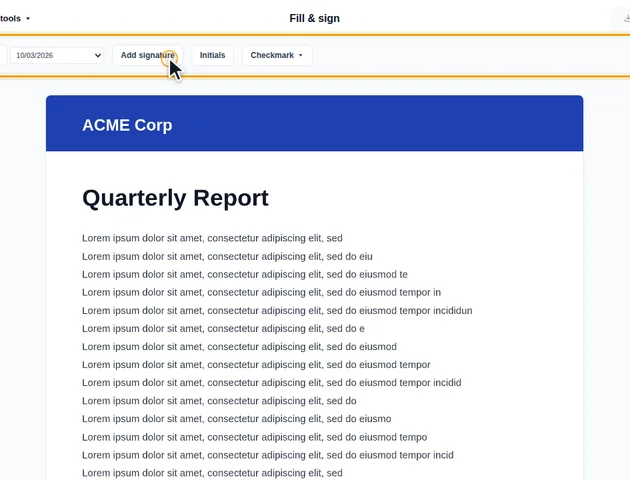
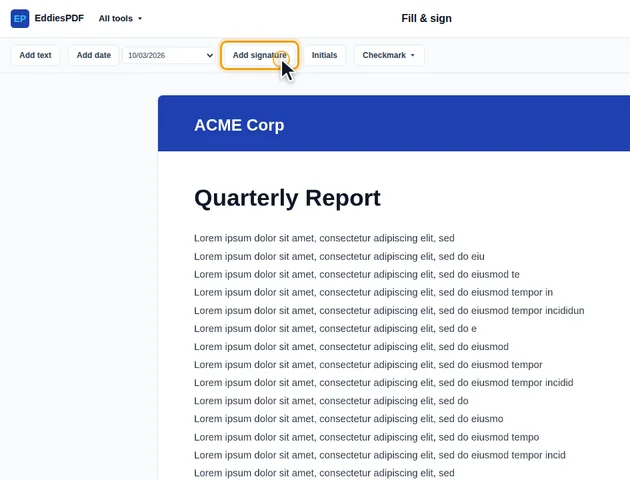
Click Add signature or Initials. Draw, type or upload the signature, then click the page to place it. The signature is stored on this device for next time. Click change to create a new one.
Click Apply and continue. The results screen lets you preview the finished PDF, download it, save it to Google Drive, open it in another tool, or delete the files.
Click a placed item to show its options. Text has font, size, bold and color; marks have color. Edit text changes the wording, and Copy to all pages puts the item in the same spot on every page. Undo and redo work for every change.
If the PDF has form fields, tick Flatten form. The fields become ordinary page content, and the answers can no longer be edited.
Everything you place yourself is written into the page content when you click "Apply and continue", but not all of it in the same form.
If you use "Copy to all pages" on a signature or initials, the image is stored in the file once and drawn on each page, so a 30-page contract doesn't carry 30 copies of it.
When you type into a real form field, the answer goes into the field itself, and the tool also draws how the field should look. A few rules apply:
Signature fields show "Sign here". Clicking one fits your signature image into the box. That's a picture of a signature placed on the page, not a certificate-based digital signature, and the field itself stays empty. If the other side needs a signed field their software can verify, ask what they accept.
A drawn signature is trimmed to the ink with a small margin, so it places neatly. An uploaded image is used as it is, converted to PNG at its full pixel size. Two things follow from that:
Without "Flatten form", the fields stay editable and untouched fields keep their existing look. If one of them had no stored look and none could be built, the file asks readers to redraw the fields when they open it, so those fields can look different from one reader to another. Flattening avoids that.